Here at TechFix Solutions in Pulimood Junction, Kottayam, we see the aftermath of tech disasters every single day. The difference between a simple, inexpensive cleanup and a catastrophic, chip-level motherboard replacement rarely comes down to the accident itself. It comes down to what the user did in the first ten minutes.
1. The Liquid Spill: Stop the Corrosion
Water, coffee, and soda are the natural enemies of electronics. When liquid meets a powered motherboard, the resulting short circuits and rapid corrosion can destroy components in seconds.
- Kill the Power Instantly: Press and hold the physical power button until the machine dies. Do not wait for a normal shutdown.
- The “Tent” Method: Open the laptop screen as far as it goes. Place it face down on a dry towel in an inverted “V” shape. This pulls liquid away from the motherboard.
- Avoid the Rice Myth: Rice introduces dust and starch that can actually accelerate corrosion. Professional cleaning with 99% Isopropyl Alcohol is the only real fix.
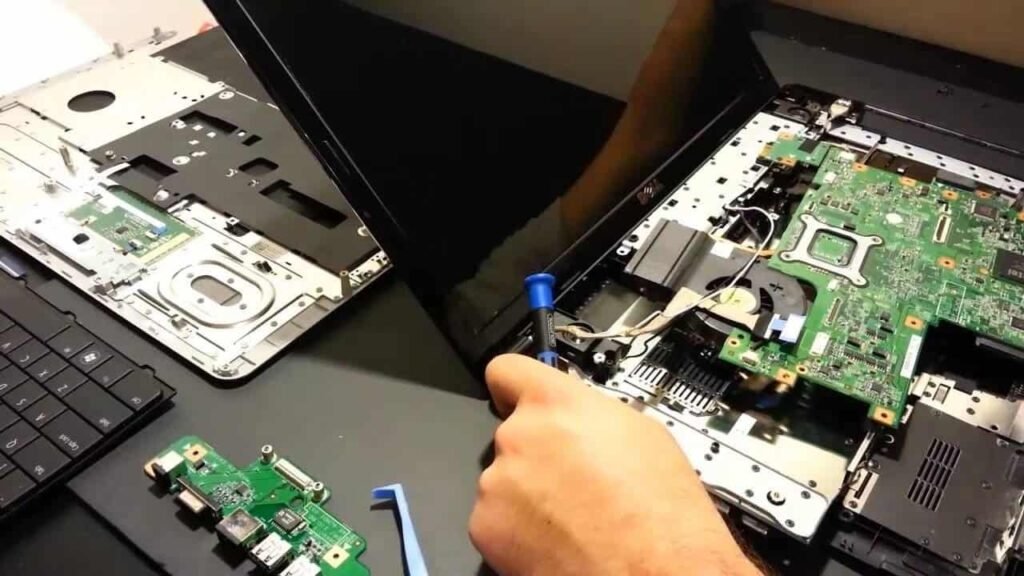
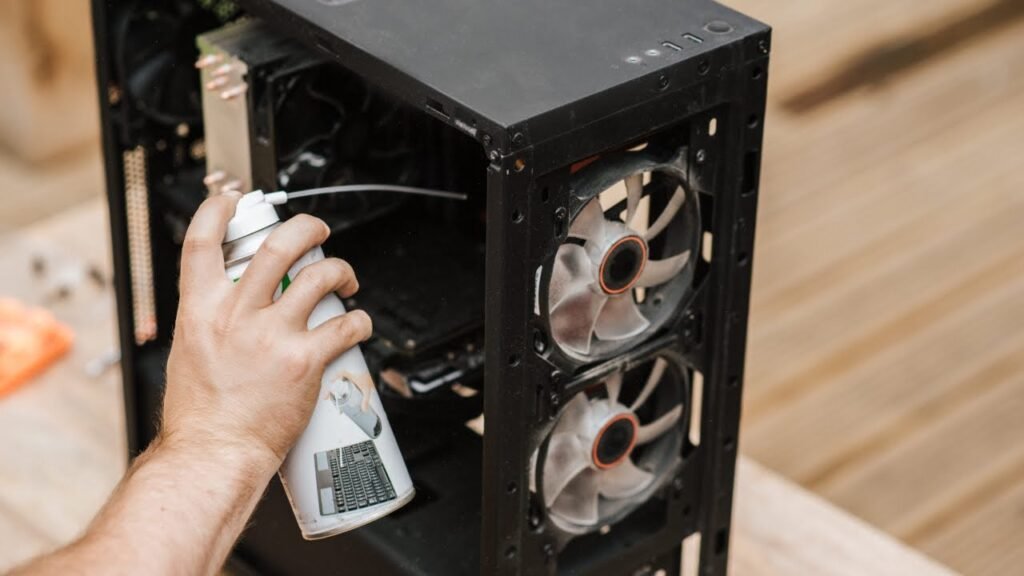
2. The Thermal Overhaul: Replacing the Paste
Many “dead” or “slow” laptops are actually just suffering from dried-out thermal interface material. If your laptop is over two years old and running hot, this is your primary fix.
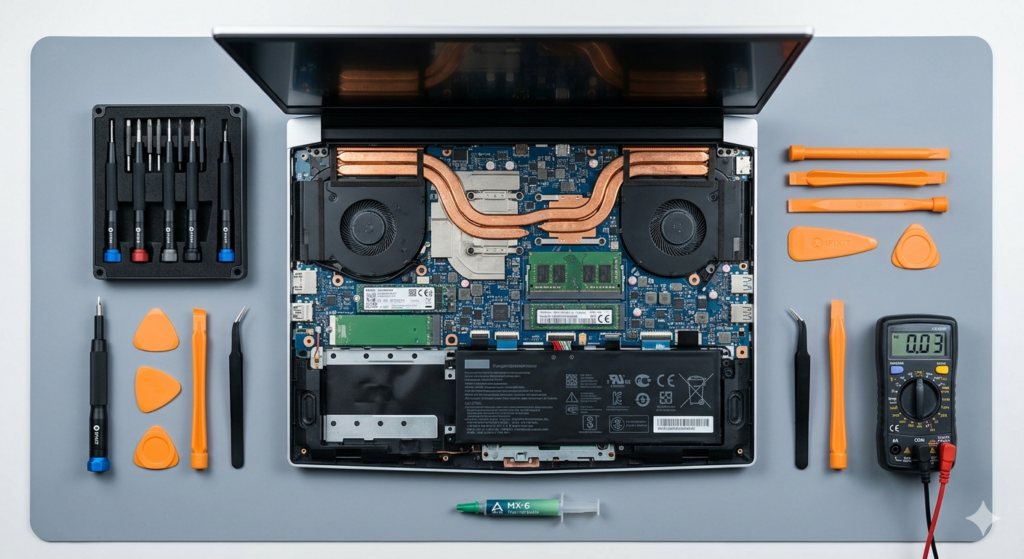
🛠️ The Thermal Paste Protocol
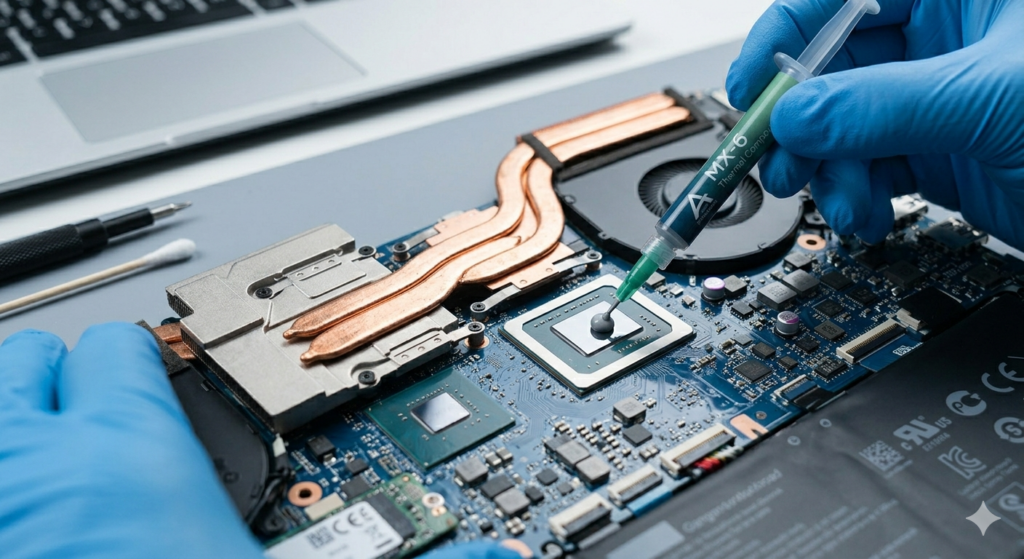
Thermal paste is the bridge that carries heat from your CPU/GPU to the cooling fans. Over time, this paste turns into a brittle, insulating crust.
- When to Replace: If your fans are constantly loud or the laptop shuts down during heavy tasks.
- The Method: Carefully clean off the old “crust” using a lint-free cloth and 99% IPA. Apply a pea-sized amount of high-quality non-conductive paste (like Arctic MX-6 or Noctua NT-H2) directly to the center of the chip.
- The Result: Proper “re-pasting” can drop internal temperatures by 15°C to 25°C, instantly restoring original performance levels.
3. The “Dead” Machine (No Power, No Lights)
If you press the power button and absolutely nothing happens, perform these triage steps before assuming the motherboard is fried.
- The Static Discharge: Unplug the charger, remove the battery (if possible), and hold the power button for 60 seconds. This drains residual electricity that can “lock” the power controller.
- Inspect the Port: Use a flashlight to check the charging port at the side of your laptop. If you see bent pins or a “burnt” smell, stop immediately.
- Listen for the “Click”: Put your ear to the keyboard. A faint, repeating “ticking” sound usually indicates a severe power rail short on the motherboard.
4. The Drop: Managing Physical Trauma
A laptop taking a tumble is heart-stopping. Physical trauma rarely kills a machine instantly, but what you do next can.
- The Rattle Test: Gently tilt the laptop. If you hear anything rattling inside, do not turn it on. A loose metal screw rolling across a live motherboard will cause a fatal short circuit.
- Hinge Check: If you feel resistance while opening the lid, the internal brass anchors are likely broken. Forcing it will shatter the screen.
Need Expert Help?
Your data is always more valuable than the hardware. If your device contains critical files and you aren’t comfortable opening it yourself, the safest action is inaction.
Bring it straight to our service center at Pulimood Junction, Kottayam. We specialize in chip-level repairs, data recovery, and professional thermal servicing to get your tech back in peak condition.